You Got a New Espresso Machine Here's Your Beginner's Roadmap
From Unboxing to First Shot: Your Espresso Journey Starts Here
Congratulations on your new espresso machine! Whether it arrived as a gift or a planned purchase, you’re now the proud owner of one of the most rewarding home appliances you can imagine. The prospect of pulling café-quality shots at home might feel intimidating, the jargon, the buttons, the steam wand, but here’s the truth: you don’t need to master everything overnight. Every espresso enthusiast started exactly where you are now, staring at their machine, wondering what comes next. Note: This guide doesn’t cover Nespresso or other pod-based machines. We’ll focus on traditional espresso machines that use ground coffee. Good news? With a bit of guidance and a willingness to experiment, you’ll be making delicious espresso within your first week.
Before you pull that first shot, let’s demystify your machine and the accessories that came with it. Understanding what you’re working with is the first step toward espresso confidence.
Understanding Your Machine: The Three Main Types
Your espresso machine belongs to one of three boiler categories, and knowing which one you have will shape your brewing workflow and expectations. Each type has distinct advantages, and the beauty is that all three can produce excellent espresso.
Single Boiler Machines
A single-boiler espresso machine heats water in one tank for both brewing espresso and steaming milk. This means the machine alternates between two different temperatures: a brew temperature around 195–205°F (90–96°C) for pulling shots, and a higher steaming temperature above 212°F (100°C) for frothing milk. Since the boiler can’t hold both temperatures at once, you’ll need to switch the machine between brewing mode and steaming mode.
The practical workflow looks like this: pull your espresso shot first, then switch the machine to steam mode and wait for the boiler to reheat. This “mode switching” adds a few minutes to your process if you’re making milk-based drinks, but it keeps the machine affordable, compact, and energy-efficient. Single-boiler machines are perfect if you mostly drink straight espresso or the occasional cappuccino, and they’re an excellent entry point for new home baristas. Many come with simple, reliable mechanical controls and fewer moving parts to maintain.
Heat Exchanger (HX) Machines
A heat exchanger machine is a clever hybrid solution. It uses a single boiler held at steaming temperature, and inside that boiler runs a tube (the heat exchanger itself) carrying cooler water for brewing. As brewing water flows through this tube, it reaches the ideal brewing temperature before dispensing into your portafilter. This design allows you to brew and steam simultaneously a major workflow advantage over single-boiler machines.
Heat exchangers warm up quickly and offer exceptional value, making them popular among home baristas who want flexibility without the higher cost of dual boilers. The main trade-off is that they require a bit more technique: you’ll need to perform a “cooling flush” (running water through the group head for a second or two) before pulling a shot after steaming, to avoid overheating your espresso. This extra step is minor but worth knowing about upfront.
Dual Boiler Machines
A dual boiler (or “double boiler”) espresso machine features two completely independent boilers: one dedicated exclusively to brewing, the other to steaming. Each boiler is held at its own ideal temperature, meaning you can brew and steam simultaneously without any workflow interruption. Most dual boilers also include PID (Proportional-Integral-Derivative) temperature controllers, which keep each boiler locked at a precise temperature, often within 1–2°F.
This is the gold standard for consistency and workflow speed. If you entertain frequently, make multiple milk-based drinks daily, or want the ultimate control over your espresso, a dual boiler is worth the investment. The trade-offs are a higher upfront cost, a larger footprint on your counter, and slightly more complex maintenance. But the superior temperature stability and ability to brew back-to-back shots without waiting make them beloved by serious enthusiasts.
Which type do you have? Check your machine’s manual or look for mentions of “single boiler,” “heat exchanger,” or “dual boiler” in the product specs. Your manual will also outline the specific startup procedure and any mode-switching required for your model.
What Came in Your Box: Essential Accessories Explained
Your new espresso machine likely arrived with a collection of accessories that might look mysterious at first glance. Let’s unpack what’s inside and why each piece matters.
The Portafilter
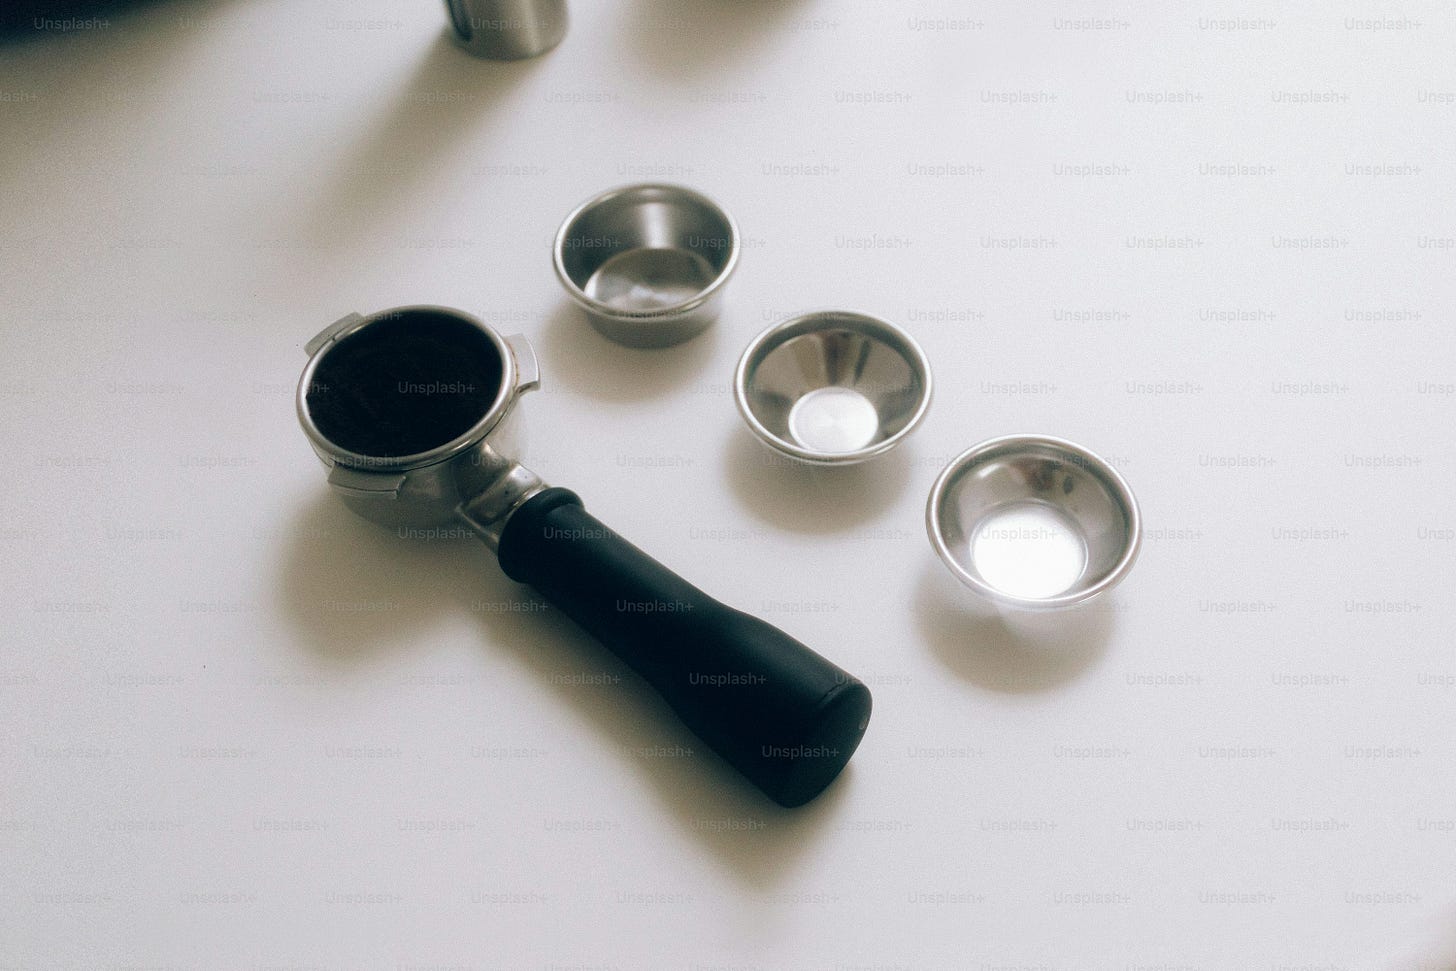
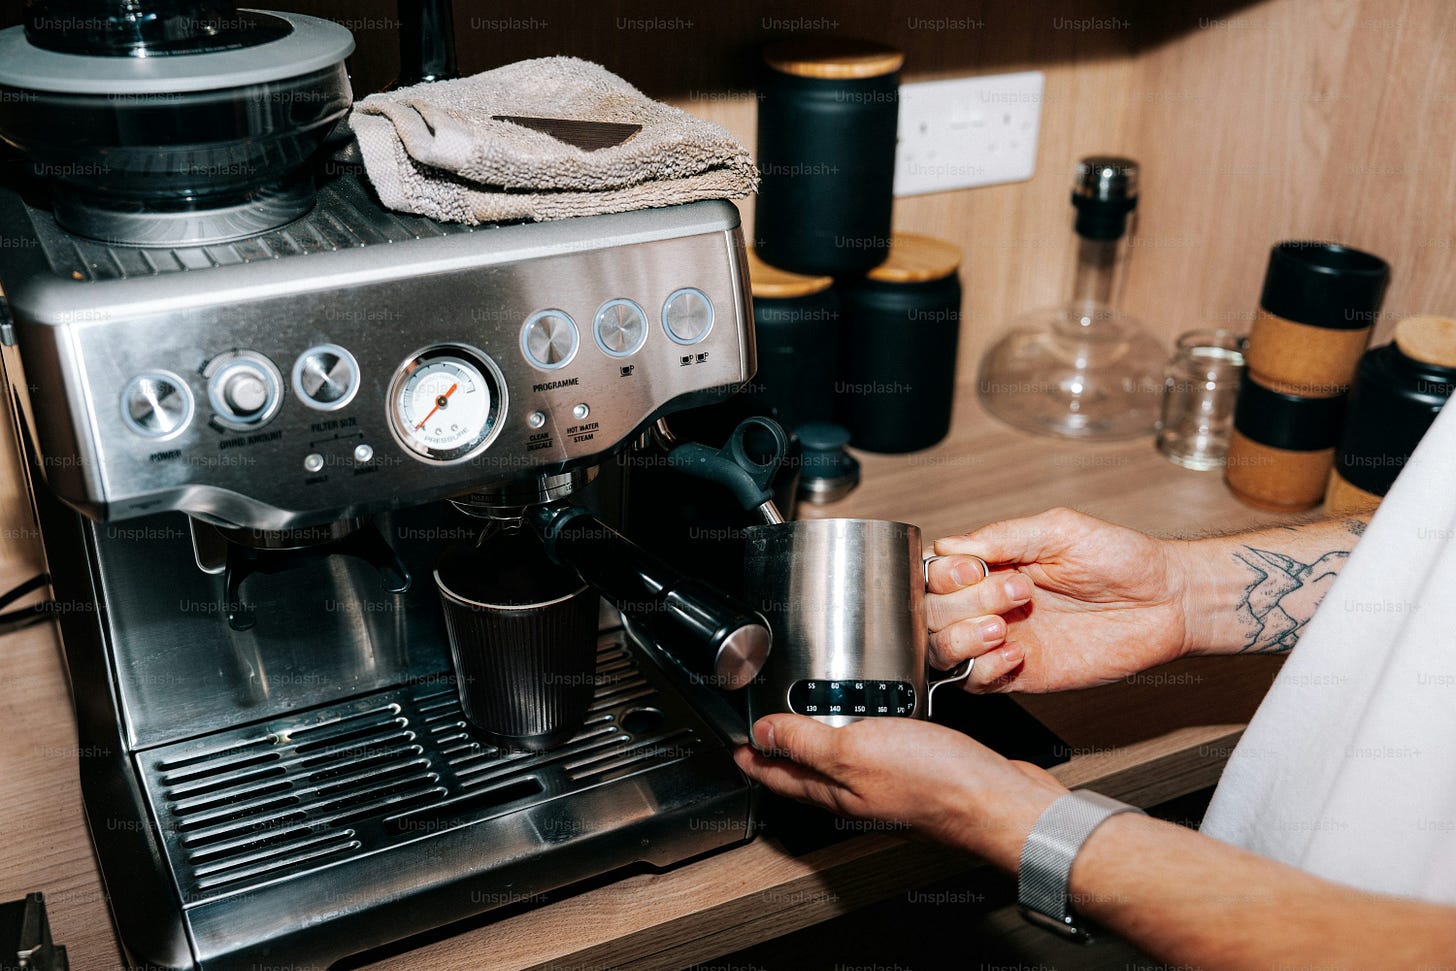
This is the handled metal component that holds your ground coffee during brewing. It slides into the group head (the shower-head-like part of the machine) and locks in place to create the pressure-tight seal needed for proper extraction. Most portafilters come in two styles: double-spout (directing espresso into two cups or one cup in two streams) or single-spout (one stream). Some machines include a bottomless portafilter, which gives you a clear view of the extraction and helps diagnose channeling problems. Portafilter size matters; common sizes are 54mm for compact machines and 58mm for full-size semi-pro models. Keep yours clean and dry after each use to prevent corrosion and ensure consistent brewing.
Filter Baskets
Inside your portafilter sits a removable metal basket. Most machines include both single-wall (or single-basket) and double-wall baskets. Double-wall baskets have a pressurized design that’s more forgiving if your tamping isn’t perfectly even—ideal for beginners or pre-ground coffee. Single-wall baskets demand more precision but reward you with clarity and control once you’ve built the skill. Your machine likely includes baskets in different sizes: a 1-cup (7–9g), 2-cup (14–18g), and sometimes a 3-cup basket. Start with the 2-cup for a standard double shot.
The Tamper
A tamper is a handheld tool with a flat, circular base that compresses your ground coffee evenly in the basket. This step, called tamping, is crucial for even water distribution and consistent extraction. Most machines include a basic tamper, but many home baristas upgrade to a precision or self-leveling tamper down the road for added consistency. For now, your included tamper is perfectly adequate; just ensure the diameter matches your basket size (54mm or 58mm).
Milk Jug and Steam Wand
If your machine came with a stainless-steel milk jug (often 350mL), this is your vessel for steaming and frothing milk. The steam wand, a metal tube attached to the side of your machine, connects to a pressurized steam circuit. To steam milk, you’ll submerge the wand tip into cold milk and activate steam mode. With practice, you’ll create silky microfoam for lattes and cappuccinos.
Cleaning Tools
Your box likely includes a cleaning brush, a cleaning disc (a rubber gasket-like tool), cleaning tablets, and a small pin or needle tool. These are essential for maintaining your machine’s longevity. The cleaning disc goes into your portafilter (without coffee) to deep-clean the group head and internal components. Regular cleaning prevents mineral buildup, rancid oil residue, and flavor taints.
Coffee Scoop and Dosing Funnel
A simple measuring scoop helps you portion out whole beans before grinding. Some machines include a dosing funnel, a small metal or plastic funnel that sits on top of your portafilter to guide grounds smoothly from grinder to basket without spillage. Both are small but handy tools that make the brewing process cleaner and more efficient.
A Scale (If Included)
Some machines ship with a basic digital scale. This is invaluable for dialing in your espresso. Consistency with coffee dose (typically 18–19g for a double shot) is one of the fastest ways to improve your espresso, and weighing your coffee grounds removes guesswork.
Your First Week: Building Enthusiasm and Momentum
The best approach to your new espresso machine is to embrace it as a learning tool, not a source of stress. Here’s why: every professional barista started by pulling shots that didn’t taste great. The difference is they pulled a lot of them, learned from each attempt, and kept going.
Day 1–2: Clean, Setup, and Familiarization
Before pulling any shots, spend time reading your machine’s manual and wiping down all removable parts with a damp cloth. Fill the water tank with fresh, cold, ideally filtered water. Turn on the machine and let it heat up. This usually takes 5–15 minutes, depending on the model. During warm-up, examine each accessory, read through the manual’s quick-start section, and get comfortable with where the buttons, switches, and knobs are. There’s no pressure yet. You’re just building familiarity.
Day 3–4: Pull Your First Shot
Follow your machine’s startup procedure, then grind about 18–19 grams of fresh coffee into your portafilter (a medium-fine grind, similar to sand). Tap the portafilter gently to distribute the grounds, then tamp firmly and evenly with about 20–30 pounds of pressure. Lock the portafilter into the group head and start the brew. Aim for the espresso to flow into your cup for about 25–30 seconds. Your first shot might be sour, bitter, too fast, or too slow, and that’s completely normal. The point is to get past the intimidation and understand the basic workflow.
Day 5–7: Dial In Through Experimentation
Now comes the fun part: adjusting your grind to dial in your shots. If espresso flows through too quickly (less than 20 seconds), your grind is too coarse make it finer. If it takes over 35 seconds, your grind is too fine; make it coarser. Pull a few shots with each adjustment, taste them, and notice how the flavor changes. By day seven, you’ll have pulled 10–15 shots and developed an intuition for how this machine responds. You’ll also have had a real aha! moment when a shot tastes balanced, not just okay.
Build Enthusiasm by Setting Small Wins
Your goal this first week isn’t perfection; it’s momentum. Celebrate small wins: your first successful milk froth, your first balanced shot, your first latte that doesn’t taste burnt. Join a home espresso community online (The Home Barista’s Quill is wonderfully welcoming), watch a few technique videos, and remember that every expert home barista you admire is still learning, still experimenting, still pulling occasional disappointing shots.
The Path Forward
You have everything you need to start this journey. Your machine, your accessories, and your willingness to learn are already in place. The espresso world is filled with enthusiasts who love sharing knowledge, troubleshooting problems, and celebrating great shots. Your gift isn’t just an appliance, it’s an invitation to a community and a daily ritual of craftsmanship.
Pull your first shot without pressure. Enjoy the process of discovery. And when you dial in that first truly delicious espresso, take a moment to savor it. You made that.
Got Questions? We’d Love to Hear From You
1. Which type of espresso machine did you get: single boiler, heat exchanger, or dual boiler? Tell us your model in the comments, and we’ll help you navigate your first shots!
2. What’s the first espresso drink you’re most excited to master—a straight shot, a cappuccino, or something else entirely?
If you’re diving into the home espresso rabbit hole, subscribe to The Home Barista’s Quill so you never miss a deep-dive guide, troubleshooting tip, or technique breakdown tailored to serious home coffee lovers like you.
Warmly,
Jim
The Home Barista’s Quill


